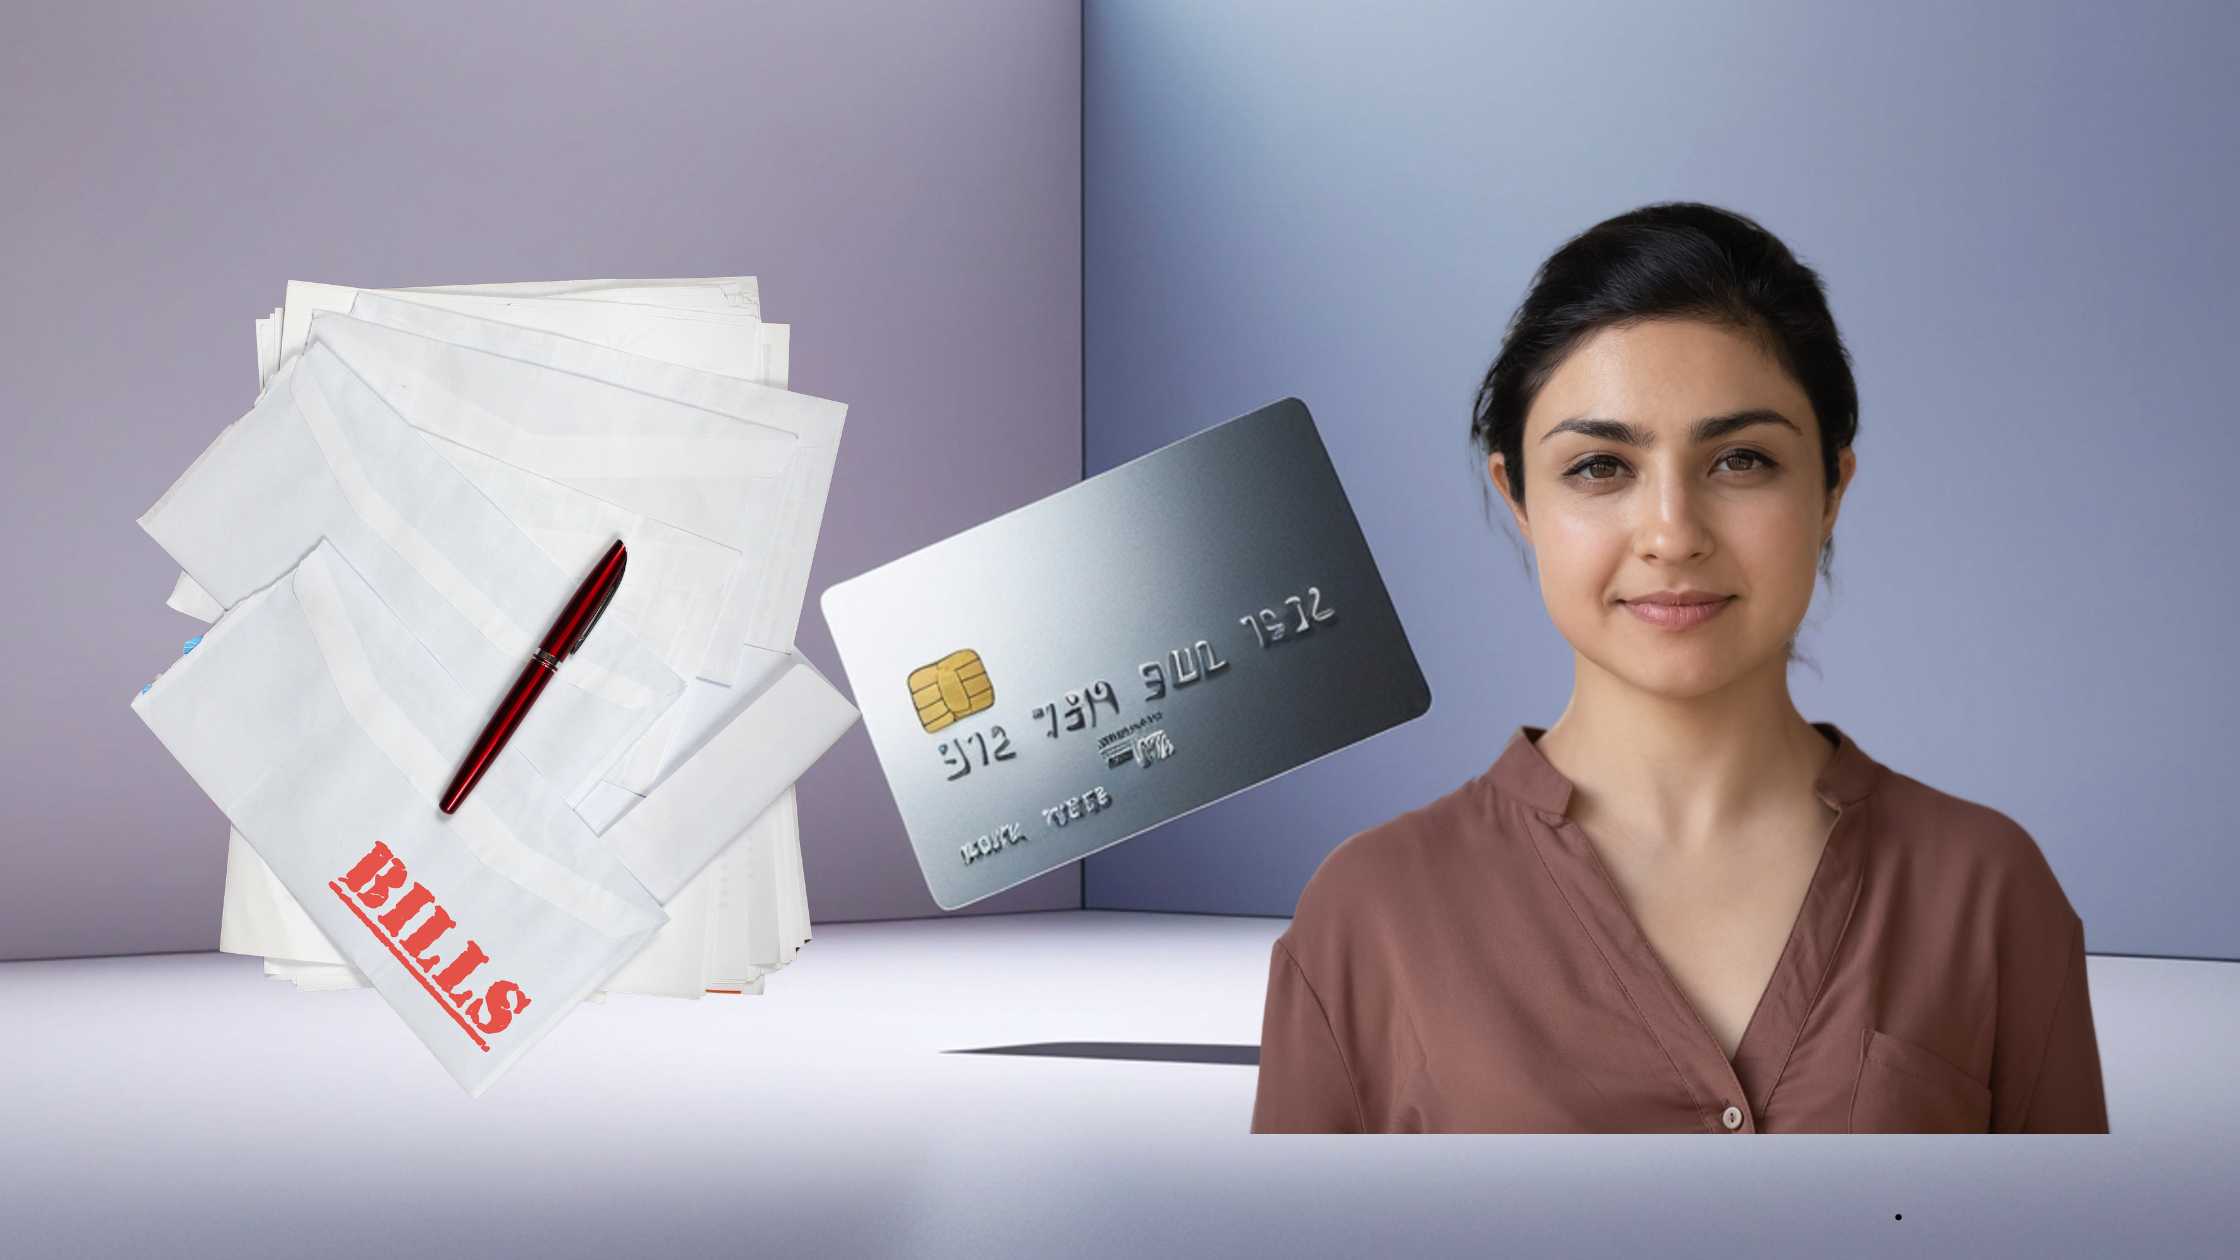
You’ve moved abroad. New job. New country. New SIM. But every month, but you still need to pay Indian credit card bill from abroad.
And that’s when the real questions begin:
- “Can I still use this Indian card for subscriptions while I’m abroad?”
- “What if my OTP doesn’t come?”
- “Is there a way to pay an Indian credit card from abroad without begging family every month?”
The good news?
Yes, you absolutely can, and it can be smooth and stress-free once you set up a simple system.
In this guide, you’ll discover every practical way to pay Indian credit card bill from abroad, the exact setup you should do before flying out, and what to do if your SIM stops working or you get locked out of net banking.
Before You Leave India: Set Up Your Credit Card Bill Payment System
If you’re still in India (or visiting soon), this section alone can save you a lot of future drama.
If you’re already abroad, still read this; you’ll know what to fix on your next visit.
Step 1 – Enable Net Banking and Mobile Banking for All Your Cards
Your life as an NRI gets 10x easier when:
- All your credit cards are visible in Net Banking
- You can see statements, unbilled transactions, due date
- You can pay directly from your linked account online
For each bank:
- Activate net banking if not already done
- Link your credit cards to that login
- Confirm you can:
- View current outstanding
- Download statements
- Pay using the “Pay Credit Card” / “Card Payment” option
- Add external bank account as a payee (if needed)
Think of net banking as the “control room” that makes it easy to pay Indian credit card from abroad – even when apps or UPI misbehave.
Step 2 – Open an NRE/NRO Account Linked to Your Credit Card Bank
This is huge for NRIs and often skipped.
- NRE account – for your foreign income (remitted from abroad)
- NRO account – for your Indian income (rent, interest, etc.)
Why this matters for NRI credit card bill payment in India:
- You can send money from your foreign bank to your NRE/NRO
- Once the money lands there, you can simply:
- Log in → choose “Credit Card Payment” → pay from NRE/NRO
- No need to involve third parties every month
If possible, open an NRE/NRO account with the same bank as your main card.
That reduces friction, delays, and weird issues.
Step 3 – Update Mobile Number, Email & OTP Options
Biggest NRI pain point: OTP issues.
Before you leave:
- Update your primary email everywhere
- Add an alternate mobile number if your bank allows (family member in India)
- Explore:
- Email OTP
- In-app OTP
- Soft token/authenticator apps
Many banks are moving towards app-based approvals.
If your bank offers this, set it up while you’re still in India — it’ll make it far easier to pay Indian credit card from abroad later.
Step 4 – Set Up Standing Instructions / Autopay
Autopay is your “in case I completely forget” backup.
You’ll usually get options like:
- Minimum amount due
- Total amount due
- A fixed amount every month
What I recommend:
- If your income is stable and balances are predictable → Total amount due
- If cashflow is tight or irregular → at least the Minimum amount due + manual top-ups when you can
Autopay + net banking = the safest combo for NRI credit card bill payment in India.
7 Easy Ways to Pay Indian Credit Card Bill From Abroad
Now let’s go method by method.
You can mix and match these depending on where you live and how your banking is set up.
1. Pay via Net Banking Using NRE/NRO or Savings Account
This is usually the cleanest and most reliable way to pay.
Steps:
- Log in to your Indian bank’s net banking
- Go to “Credit Cards” or “Cards” section
- Check:
- Current outstanding
- Due date
- Click “Pay Now” / “Make Payment”
- Choose NRE/NRO/Resident savings account as the source
- Confirm payment, note the transaction reference number
Why this works great:
- No third party
- Usually instant or same-day
- Minimal or zero additional fees
- Full control from anywhere in the world
If you’re serious about stress-free NRI credit card bill payment in India, this is the method you want as your default.
2. Pay Through Your Bank’s Mobile App From Any Country
If your bank’s app is stable abroad, this can be even nicer than net banking.
What you can usually do with the app:
- View statement & unbilled transactions
- Check due date & minimum due
- Set up autopay
- Make one-time payments from NRE/NRO/savings account
Before you move:
- Install and update all banking apps
- Log in and make sure you remember:
- User ID
- MPIN / app PIN
- Enable biometric login if offered
- Test a small payment to see the flow
OTP issues?
- Some banks send OTP via email or in-app notifications for logged-in devices
- Others need an Indian SIM to receive SMS OTP — that’s where it gets tricky
If your app supports email or in-app OTP, you can easily pay Indian credit card from abroad using just Wi-Fi and your phone.
3. Use International Remittance to Fund Your Indian Account, Then Pay
What if:
- Your salary comes into a foreign bank account, and
- Do you need to pay Indian credit card bills regularly?
Then your flow will look like this:
- Send money from a foreign bank → Indian NRE/NRO or resident account
- Use SWIFT, Wise, Remitly, InstaReM, or your bank’s remittance service
- Wait for funds to arrive in India
- Usually 1–3 working days for SWIFT, faster for some fintechs
- Once money lands, log in to net banking/app
- Use those funds to pay Indian credit card from abroad
Things to keep in mind:
- Compare forex rates + fees across remittance options
- Remit a bit more than just the bill amount to cover:
- Card bill
- Any unexpected charges
- Next month’s small spends
This route is ideal if most of your income is abroad and your NRI credit card bill payment in India depends on regular remittances.
4. UPI-Based Payment (If Your Indian UPI Still Works Abroad)
This one is useful but a bit fragile.
You can pay Indian credit card bills via UPI if:
- Your UPI app works over Wi-Fi abroad, and
- You still have access to:
- Your Indian SIM (on roaming or in a dual-SIM phone), or
- A previously logged-in UPI app that doesn’t need OTP frequently
Ways UPI can help:
- Many banks allow “Credit Card Bill Pay” directly inside UPI
- You can:
- Choose your bank’s credit card as the biller
- Pay via linked bank account
But here are the caveats:
- Some UPI apps periodically need SIM verification
- If you lose your phone or change devices, re-login may require OTP on Indian SIM
- Not all banks/cards support UPI bill pay yet
So, UPI is great as a bonus option, but don’t rely on it as your only way to pay Indian credit card from abroad.
5. Ask a Trusted Family Member in India to Pay on Your Behalf
Let’s be honest: this is what many NRIs end up doing.
And it’s totally fine — if you do it properly.
The usual flow:
- You send money to their Indian account (or they use their own, and you settle later)
- They pay your bill via:
- UPI
- Net banking
- Branch visit (old school but still works)
- They send you:
- Screenshot of payment
- Transaction reference
- Date and time
If this is your backup plan for NRI credit card bill payment in India, set some ground rules:
- Choose one trusted person (parent, spouse, sibling)
- Share:
- Due date
- Statement PDF
- Ask them to pay 3–4 days before due date to avoid delays
This isn’t as independent as using net banking yourself, but it’s a great emergency fallback when OTPs and apps fail you.
6. Using Auto-Debit From Savings/NRE/NRO Account
Auto-debit is your safety net when life abroad gets hectic and you forget due dates.
How it works:
- You link your credit card to a specific bank account (savings/NRE/NRO)
- On the due date, the bank automatically debits:
- Minimum amount due, or
- Total amount due
Pros:
- Avoids late fees and interest (especially if “total due” is selected)
- Great backup if you’re travelling, sick, or just busy with life abroad
- Once set up, it quietly handles NRI credit card bill payment in India in the background
Cons:
- If your balance is low, auto-debit may fail
- “Minimum due” can lead to large interest if you keep a revolving balance
Best practice:
- Maintain a buffer amount in that account
- Use auto-debit for minimum due, and do manual top-ups when you can
- Or choose total due if your cash flow can handle it
7. Internet Banking Portals / Payment Gateways
Sometimes, your bank’s own site is glitchy or slow, but a payment gateway works just fine.
Common options:
- BillDesk
- Paytm’s “Pay Credit Card Bill”
- Bank-specific card payment portals
Typically, you can:
- Pick your bank name/card type
- Enter credit card number
- Choose payment option:
- Net banking of any bank
- Debit card
- Complete payment and get instant acknowledgement
Always double-check:
- The URL (ensure it’s legit and secure)
- The bank/payment gateway brand
- Confirmation email/SMS
This is handy when you want to pay Indian credit card from abroad using another Indian bank account that may not be directly linked.
Can You Pay an Indian Credit Card Directly From a Foreign Bank Account?
Short answer: usually no. There’s almost always an Indian account in the middle.
Think of it like this:
Foreign bank → (remittance via SWIFT/fintech) → Indian bank account → credit card bill
Why You Usually Need an Indian Account in the Middle
Because:
- Indian credit card bills are typically paid from INR bank accounts
- Foreign banks don’t have direct hooks into your Indian card’s billing system
- Cross-border regulations and currency controls exist
So even if you’re earning entirely in USD, EUR, AED, etc., your NRI credit card bill payment in India will normally follow this 2-step route:
- Move money into an Indian account (preferably NRE/NRO)
- Use that to pay the card bill
Using SWIFT Transfers for NRI Credit Card Bill Payment in India
SWIFT is the traditional way banks talk to each other across countries.
Pros:
- Works almost everywhere
- Good for larger amounts
Cons:
- Can be expensive (both sending and receiving charges)
- May take 2–5 working days
- Forex conversion isn’t always the best
If your remittances are small and regular (e.g., only for card bills), compare SWIFT vs fintech remittance apps.
If you’re moving large savings to India, SWIFT may still be fine.
Handling OTP, SIM, and Login Issues When You’re Outside India
Let’s tackle the headache everyone worries about but few plan for.
Option 1 – Keep Your Indian SIM Active on International Roaming
This is the brute-force solution.
Pros:
- You still receive SMS OTPs from banks
- UPI apps that rely on SIM checks will continue working
Cons:
- International roaming can be expensive
- If you lose your phone/SIM, you’re in trouble
- Some banks require periodic SIM verification
If you choose this path:
- Keep your Indian SIM in a secondary phone or eSIM slot
- Turn off mobile data if roaming is costly; rely on Wi-Fi
- Use it mainly to receive OTPs when you pay Indian credit card from abroad
Option 2 – Switch to App-Based or Email OTP Where Possible
Many banks are slowly giving alternatives to SMS OTP:
- In-app approvals
- Email OTPs
- Soft tokens/authenticator codes
Before you leave India:
- Check your bank’s security settings
- Enable any non-SMS OTP option they provide
- Test at least one full transaction where OTP comes via:
- Email or
- In-app notification
This is the most NRI-friendly setup — you’re no longer hostage to a physical SIM.
Option 3 – Secure Device Binding / Soft Tokens
Some banks let you bind a specific device (phone/tablet) as “trusted” and:
- Approve transactions via app notifications
- Generate one-time passwords inside the app
If your bank offers this:
- Set it up on your primary phone before leaving
- Secure the phone with a strong PIN/biometrics
- Never share those codes with anyone
This kind of setup makes NRI credit card bill payment in India almost as easy as paying domestically.
If You Get Locked Out
If, despite all this, you’re locked out of net banking/app:
- Call your bank’s official helpline (from registered email/phone if possible)
- Raise a request to:
- Reset password
- Update email
- Change contact number (as per bank policy)
- If required, plan to visit the branch on your next India trip to fix KYC, SIM, or signature issues
Till then, fall back on:
- Family member paying from India
- Autopay/standing instructions
Charges, Forex, and Tax Angle NRIs Should Know
Paying late isn’t the only way to lose money.
The combination of forex + fees + interest can quietly eat your money if you’re not careful.
Credit Card Forex Mark-Up and Double Conversion Traps
If you:
- Swipe your Indian credit card abroad, and
- Later pay Indian credit card from abroad using remitted money
You might be facing multiple conversions:
- Foreign currency → INR at card swipe (with mark-up)
- Your foreign income → INR again when you remit to India
- Sometimes, dynamic currency conversion (DCC) traps at POS machines
Simple tips:
- Avoid dynamic currency conversion — always choose “Pay in local currency” on POS
- Know your card’s forex mark-up
- If you’re fully settled abroad, consider:
- Using a local country card for daily spending
- Keeping an Indian card mainly for Indian spends & subscriptions
Late Fee, Interest, and Credit Score Impact
One missed payment can:
- Add late fee + GST
- Trigger interest on the entire outstanding
- Hurt your Indian credit score (CIBIL)
Remember:
- Even if you intend to pay in full, if the minimum due isn’t paid on time, you’re treated as a late payer
- Your credit score can impact your future:
- Loans in India
- Top-up credit cards
- Home loan approvals when you return
That’s why having a robust system for NRI credit card bill payment in India is not optional — it’s financial self-defence.
FEMA Basics (Very High-Level)
Without going deep into legalese:
- Foreign income → ideally into NRE account
- Indian income (rent, interest, etc.) → into NRO account
- Big remittances, gifting, and high-value transfers may have tax/reporting implications
If your situation is complex (multiple countries, large amounts), talk to a CA who understands NRI rules.
For day-to-day card payments, just ensure money flows are clean and well-documented.
Safety Checklist for Paying Indian Credit Card From Abroad
Here’s your quick monthly hygiene routine.
Do This Every Month
- Check statement date and due date
- Verify all transactions (especially international ones)
- Confirm:
- Payment status is “Paid”
- No late fees/interest have been applied
- Keep screenshots/emails of payment confirmations
- Set a calendar reminder 5–7 days before due date
Red Flags to Watch Out For
- Unknown international transactions
- A card used in a city/country you weren’t in
- Email/SMS saying:
- “Your mobile/email has been changed” (when you didn’t do it)
- “Urgent: click here to pay immediately” from suspicious links
If you spot anything:
- Block the card
- Raise a dispute
- Pay only what you genuinely owe (as guided by the bank)
Sample Monthly Routine for NRI Credit Card Bill Payment in India
Here’s a simple routine you can literally copy-paste into your notes app:
- Download the statement as soon as it’s generated
- Quickly scan for fraud or wrong charges
- Calculate:
- Total due
- What you can comfortably pay this month
- Ensure enough money sits in your NRE/NRO/savings account
- Pay Indian credit card from abroad via net banking/app (3–5 days before due date)
- Take a screenshot of the payment success page
- After 24 hours, verify:
- Card status shows “Paid” or updated outstanding
- Update your personal expense tracker (Excel, Notion, app – whatever you use)
Do this for 2–3 cycles, and it’ll become muscle memory.
Common Mistakes NRIs Make (And How to Avoid Them)
Let’s close a few open loops.
Mistake 1: Closing all Indian bank accounts and keeping only credit cards
- Without an Indian account, NRI credit card bill payment in India becomes painful
- Always maintain at least one good Indian banking relationship
Mistake 2: Relying completely on one SIM/OTP method
- If you lose access to that SIM, you’re stuck
- Set up an alternative:
- Email OTP
- App-based approvals
- Device binding
Mistake 3: Thinking “I’ll manage from abroad somehow”
- Many fixes (NRE/NRO opening, device binding, KYC) are far easier while you’re in India
- Use your next visit to upgrade your entire setup
FAQs on How to Pay Indian Credit Card Bill From Abroad
How to Pay Indian Credit Card Bill From Abroad: Verdict
Moving countries doesn’t mean you have to kill your Indian credit card.
In fact, with the right setup:
- You can keep your Indian credit history alive
- Continue using your card for:
- Indian subscriptions
- Family spends
- Future India trips
- And still pay Indian credit card from abroad without begging anyone or panicking over OTPs every month.